Wondering how to protect and enhance your precious photos? Photo cold lamination film? is the answer. This method not only shields prints from water, dust, and scratches but also boosts color vibrancy. Whether you’re preserving memories or prepping artwork for display, mastering the photo cold lamination film? technique is essential. Let’s break down the process.
1. Prep Work: Gather Your Tools
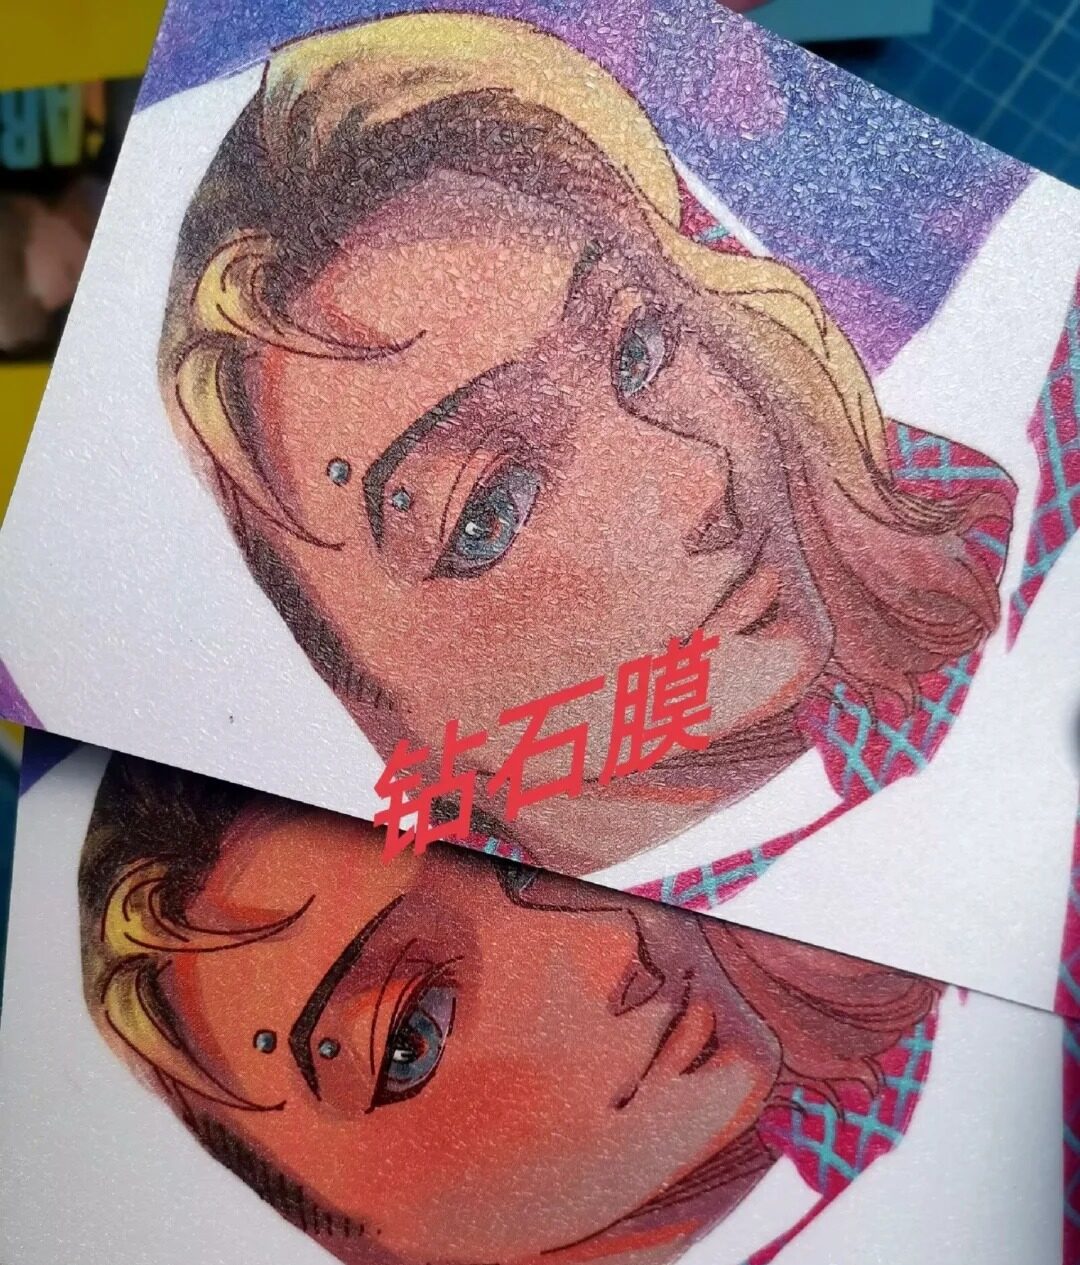
Start by selecting the right cold lamination film. Materials vary in thickness and finish—glossy, matte, or textured. For vibrant results, many prefer gloss film cold lamination? due to its shine-enhancing properties. Next, grab your photo, a cutting mat, utility knife, silicone pad, and a squeegee. Clean your workspace to avoid dust bubbles. Ensure the photo edges are trimmed neatly before starting.
Pro tip: Test the film on a scrap print first. This avoids wasting materials if adjustments are needed. Always handle films with dry hands to prevent residue.
2. Align and Apply the Film
Place the photo on the cutting mat. Unroll the cold lamination film slightly larger than the print. Peel off the backing slowly, aligning one edge with the photo. Use the silicone pad to press the film onto the photo gradually. Work from the center outward to eliminate air bubbles. Avoid stretching the film—it can warp the image.
For gloss film cold lamination?, ensure even pressure to maximize reflective clarity. A squeegee helps smooth out wrinkles. If bubbles persist, gently lift the film and reapply. Patience is key here—rushing causes imperfections.
3. Trim Excess Film
Once adhered, flip the photo over. Use a sharp utility knife to trim excess cold lamination film along the edges. Angle the blade slightly inward for a clean, seamless finish. Discard the trimmed bits and inspect for uneven spots. If edges lift, apply light pressure with the squeegee again.
This step is critical for professional results. Dull blades tear the film, so replace them often. For gloss film cold lamination?, precision cutting ensures the shine remains uniform.
4. Final Press and Inspect
Place the laminated photo under a flat, heavy object (like a book) for 10–15 minutes. This sets the adhesive firmly. Afterward, check for missed bubbles or creases. If flaws exist, carefully re-lift the film and smooth it down. Avoid repeated repositioning—it weakens adhesion.
Cold lamination film thrives on steady hands. Don’t panic if first attempts aren’t perfect. Practice improves consistency.

5. Enjoy Your Protected Photo
Done! Your photo now resists fingerprints, moisture, and fading. Display it proudly or gift it worry-free. Gloss film cold lamination? particularly elevates color-rich images, making them gallery-ready. Experiment with textures for artistic effects—matte films reduce glare, while metallic finishes add flair.
Remember: Store unused cold lamination film in a cool, dry place. Humidity can curl the sheets, complicating future projects.
Why Choose Cold Lamination Film?
Unlike heat-based methods, cold lamination film requires no machines, making it DIY-friendly. It’s ideal for delicate photos prone to heat damage. The process is quick, affordable, and reversible (with careful peeling). Plus, it’s eco-friendly—many films are PVC-free.
For small batches, gloss film cold lamination? delivers pro-quality results without a hefty price tag. Larger projects might benefit from bulk rolls. Either way, your photos gain years of added lifespan.
Troubleshooting Tips
- Bubbles? Poke them with a needle and smooth gently.
- Wrinkles? Reapply the film before the adhesive fully sets.
- Dull spots? Dust might be trapped—clean the photo surface beforehand.
Final Thoughts
Mastering photo cold lamination film? techniques unlocks endless creative possibilities. From preserving family portraits to prepping art prints, this method combines practicality with aesthetic enhancement. Whether you opt for gloss film cold lamination? or experimental textures, the key lies in patience and precision. Give it a try—your photos deserve that extra layer of love!
By following these steps, you’ll ensure every project shines—literally. Happy laminating! 🌟
JinGe Technology
Jiangxi Jinge Technology Co.